Zoho Sites
What is Zoho Sites?
Zoho Sites is a no-code website builder developed by Zoho Corporation, designed to help individuals, startups, and small businesses create professional websites without writing any code.
🔍 Key Features of Zoho Sites
-
Drag-and-Drop Builder
Build your site visually with a user-friendly interface—no coding skills required.
-
Pre-built Templates
Choose from a variety of responsive and customizable templates for different industries.
-
Custom Code Integration
Add HTML, CSS, or JavaScript snippets for advanced functionality or integrations.
-
Forms & CRM Integration
Seamlessly connect with Zoho Forms, Zoho CRM, and other Zoho ecosystem tools.
-
Blog & SEO Tools
Create and manage blogs with built-in SEO tools to improve search engine visibility.
-
Mobile Responsive Design
All templates are mobile-optimized to ensure your site looks great on any device.
-
Hosting & SSL Included
Comes with free web hosting and SSL certificate for secure and reliable websites.
💼 Ideal For
- Small businesses and startups
- Personal portfolio websites
- Nonprofits and event pages
- Users within the Zoho ecosystem
Embbeding your Blubuddy Widgets on your Zoho Sites Website
Step 1: Log in to Zoho Sites
- Visit https://www.zoho.com/sites/ and log in with your Zoho account credentials. If you don’t have an account, sign up for free.
Step 2: Create a New Website
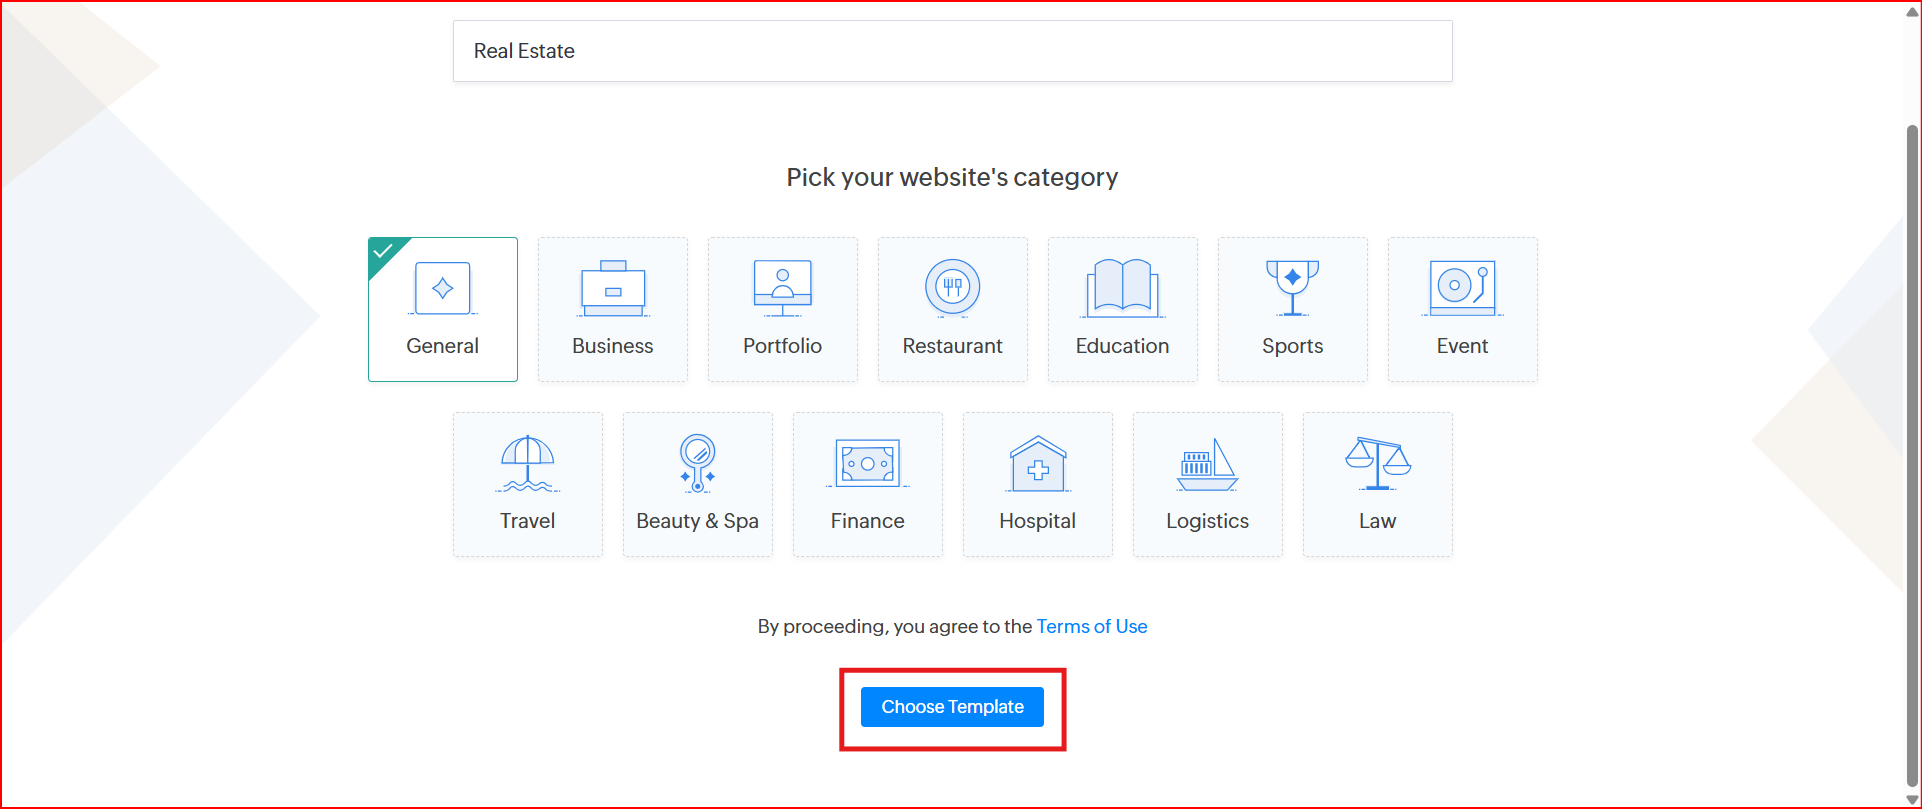
- Enter your desired website name.
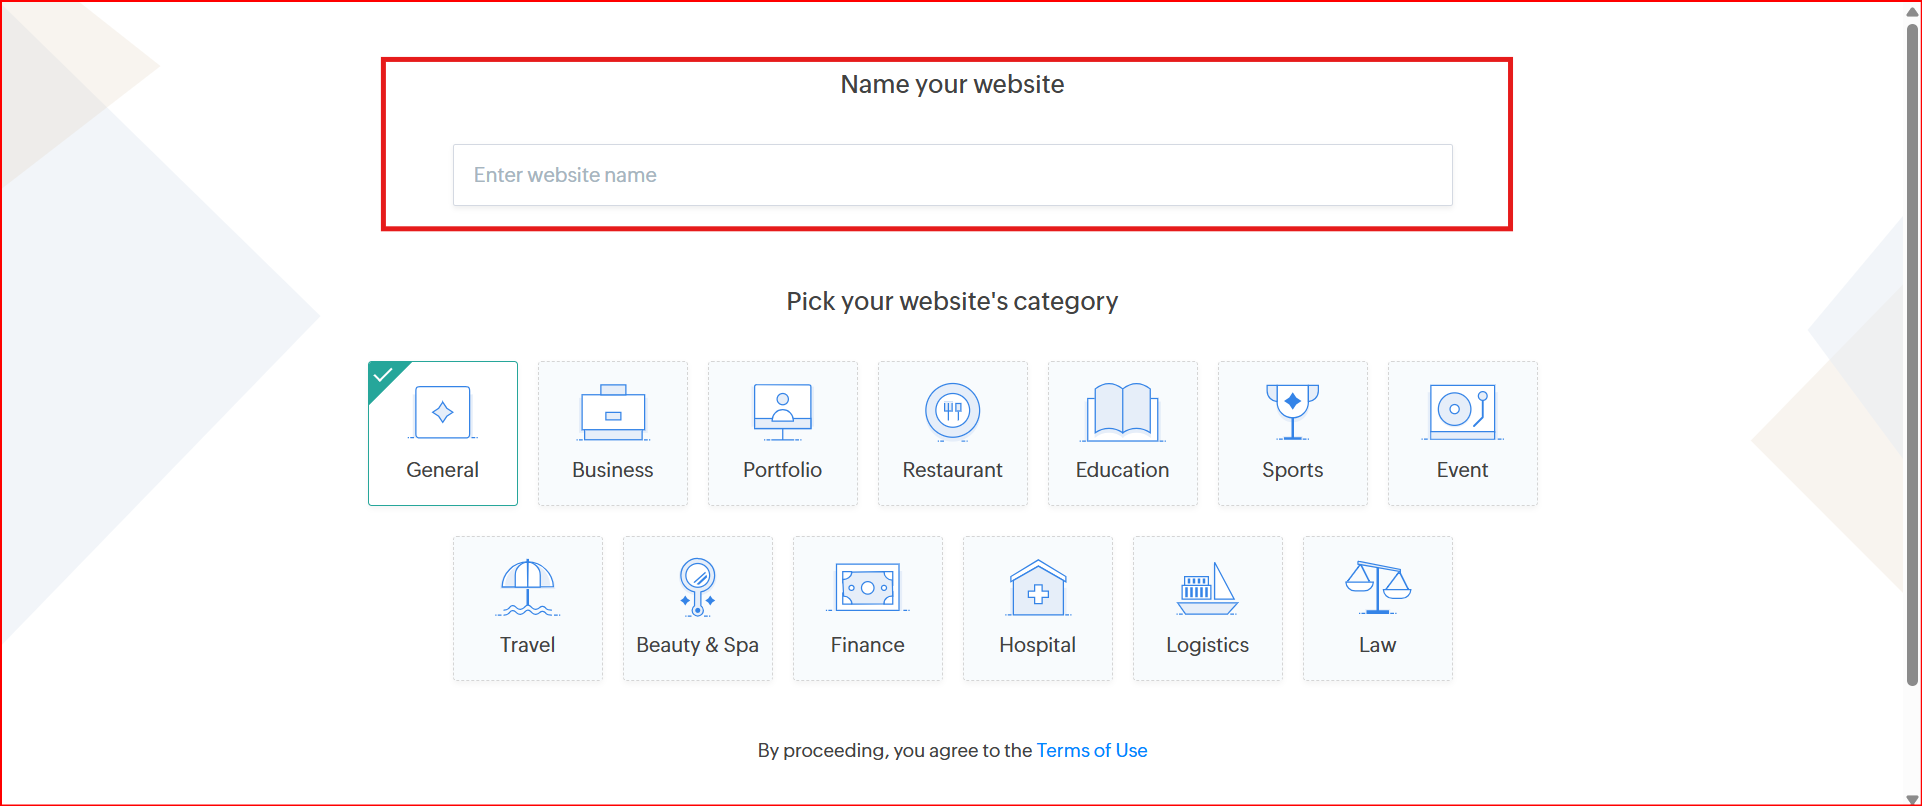
- Select an appropriate category that best represents your website.
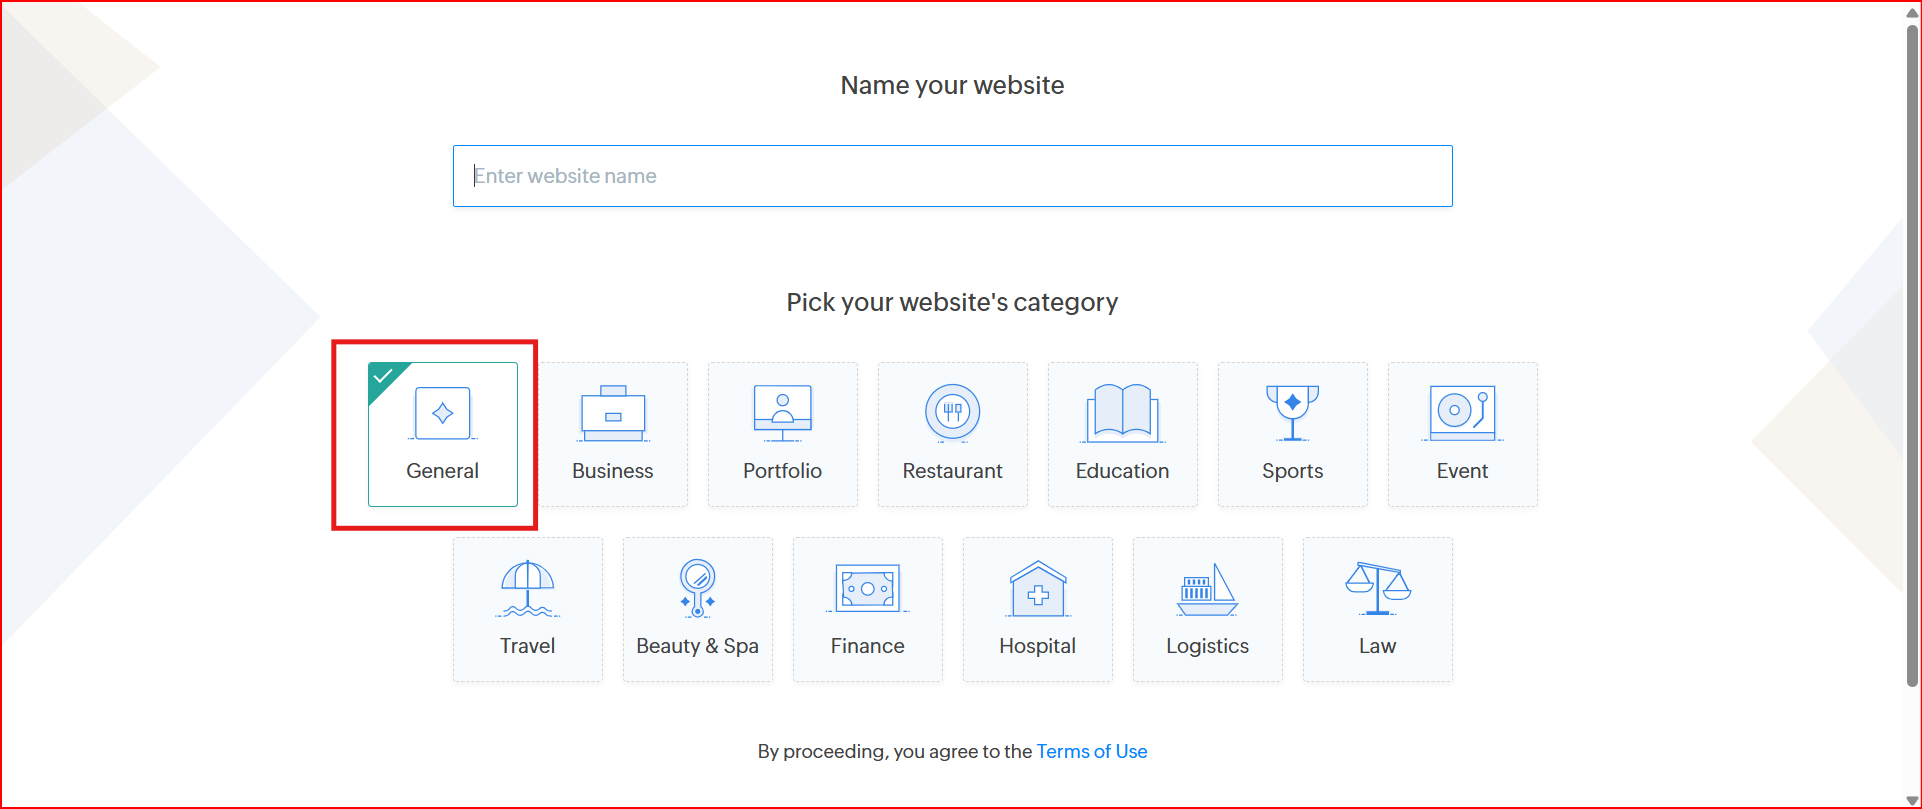
- Click “Choose Template” to continue.
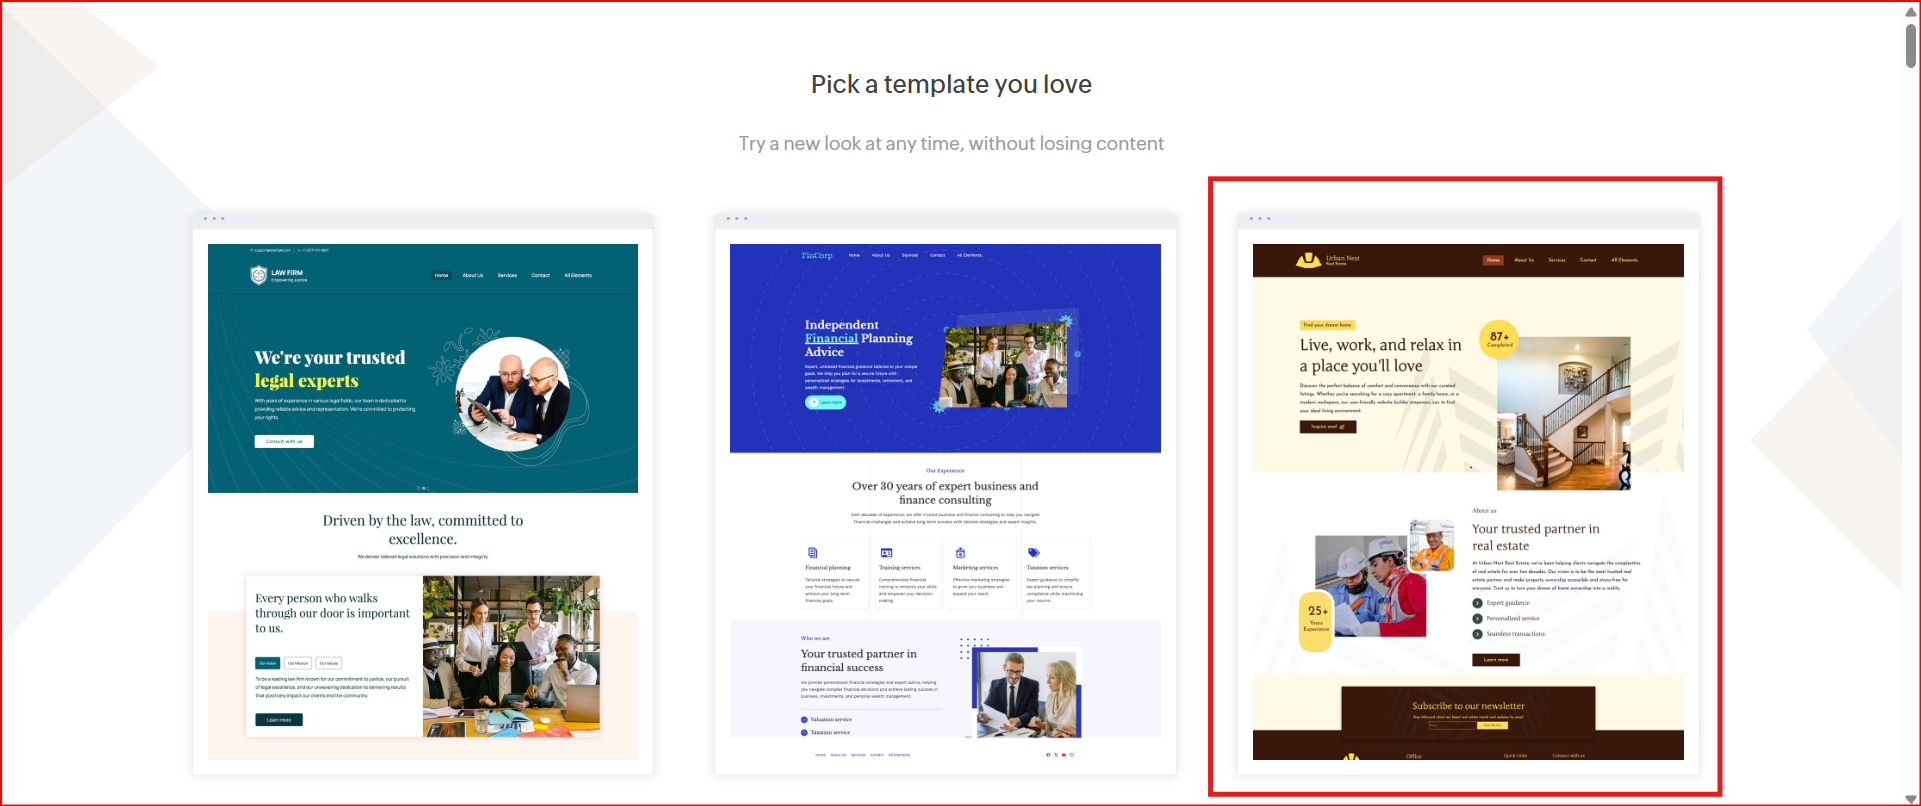
Step 3: Select a Template
- Browse the available templates and select the one that fits your design and content preferences.
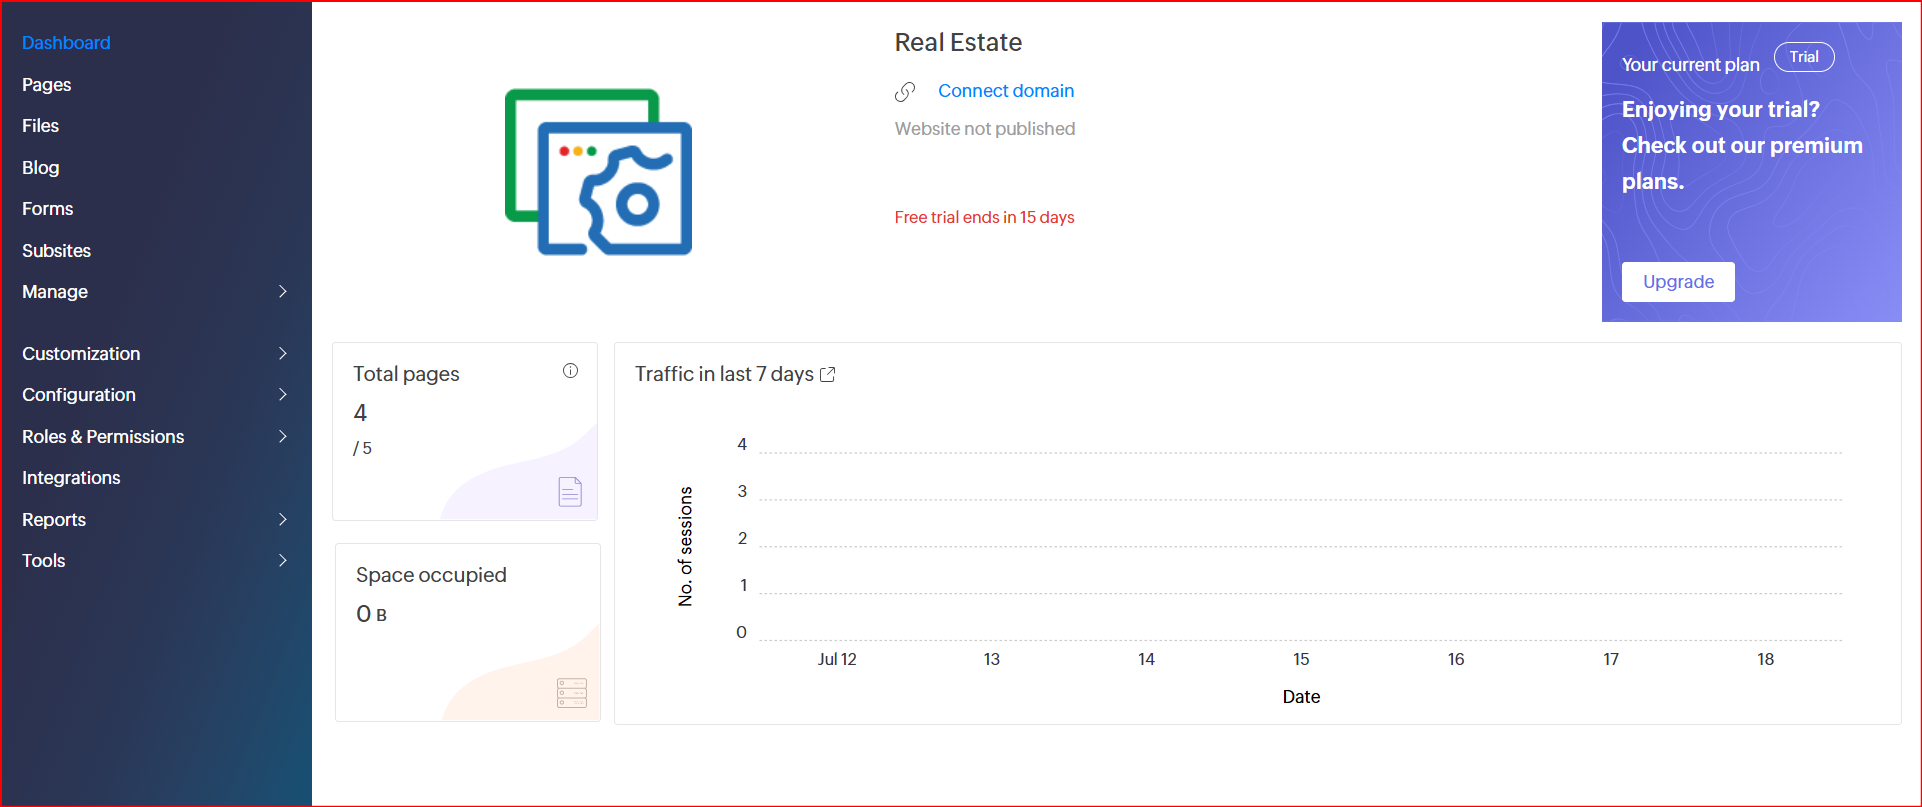
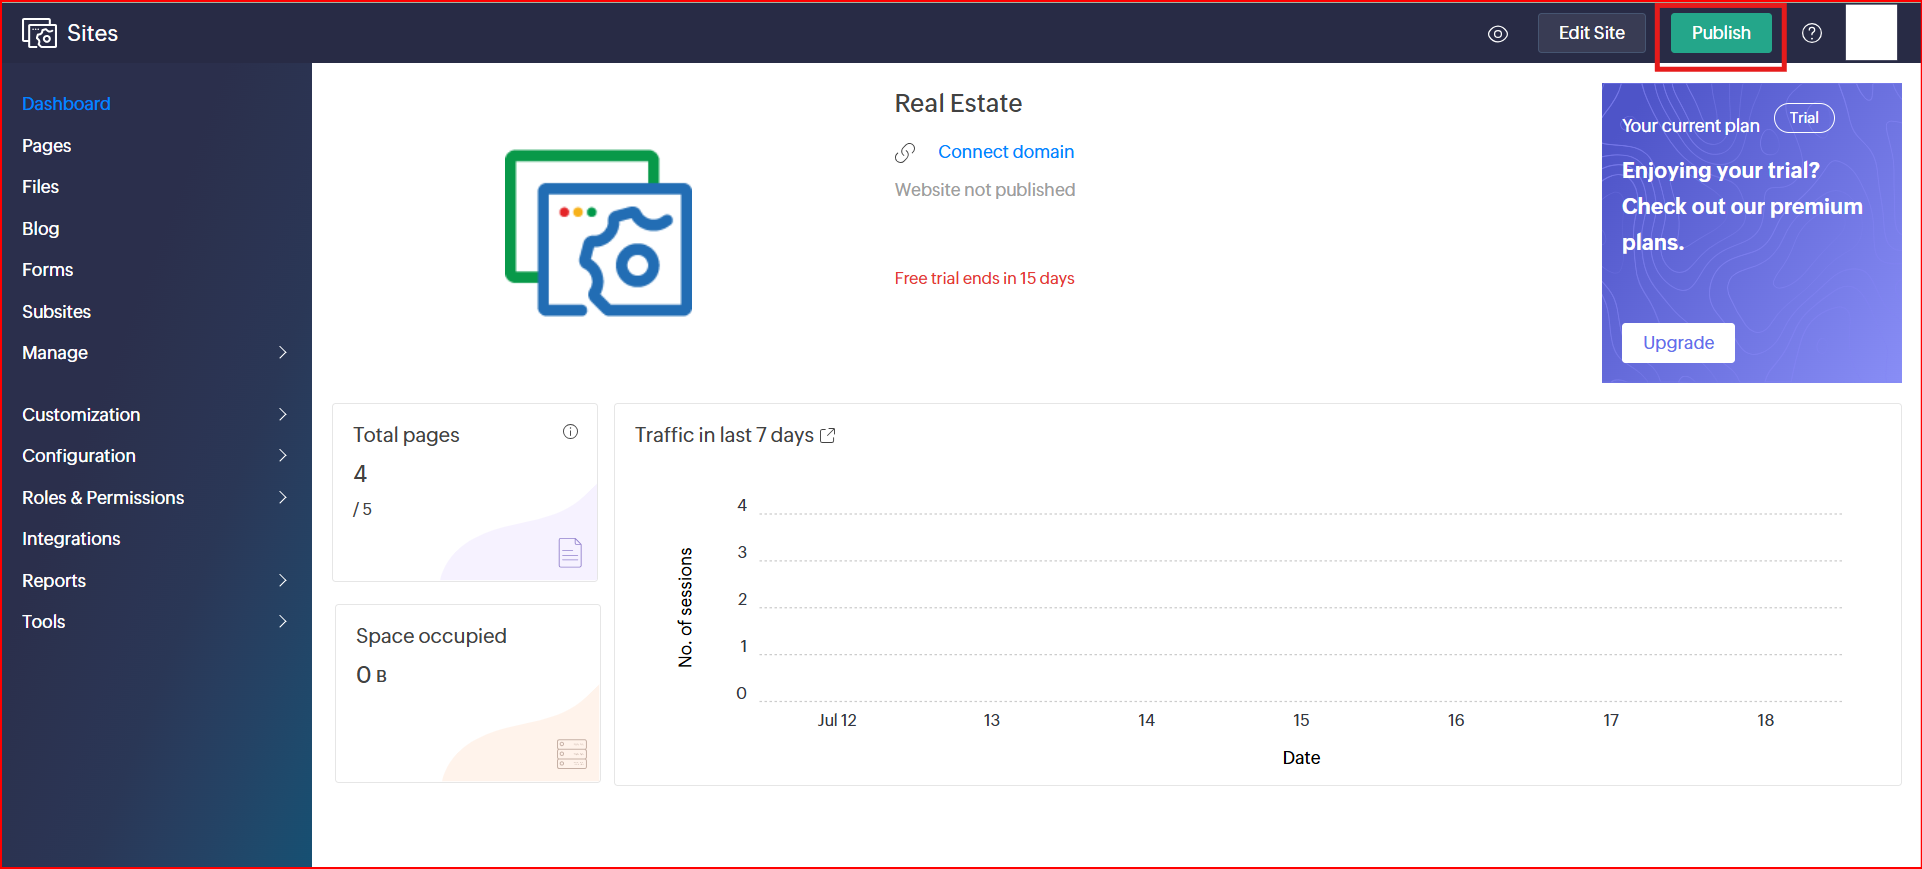
Step 4: Access the Dashboard
- Once you choose a template, you will be redirected to the Dashboard of your selected site.
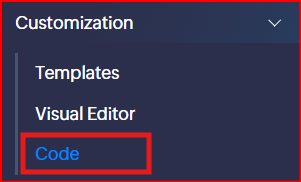
Step 5: Open Custom Code Settings
- From the left-hand navigation bar, click on “Customization” and then select the “Code” option.
Step 6: Add Your Custom Code
You’ll have to insert your code in Footer sections:
- Footer
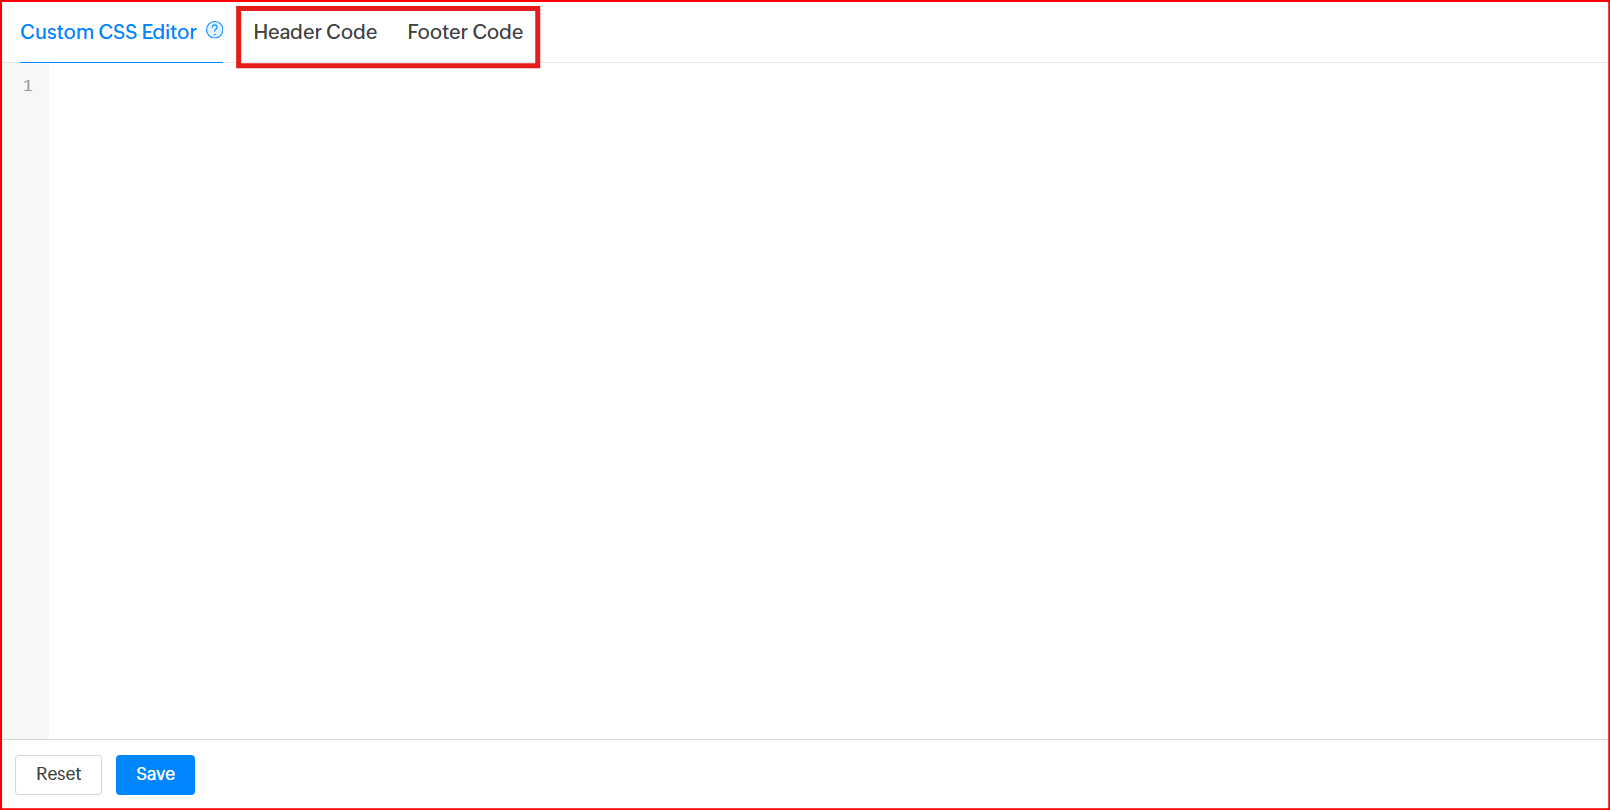
Paste your custom HTML/JS code in the footer section to appear.
// Example
 <div id="chatbot" botId="YOUR_CHATBOT_ID"></div>
 <script defer src="https://cdn.jsdelivr.net/gh/atozdebug/chatbot-widget@latest/index.js" type="module"></script>
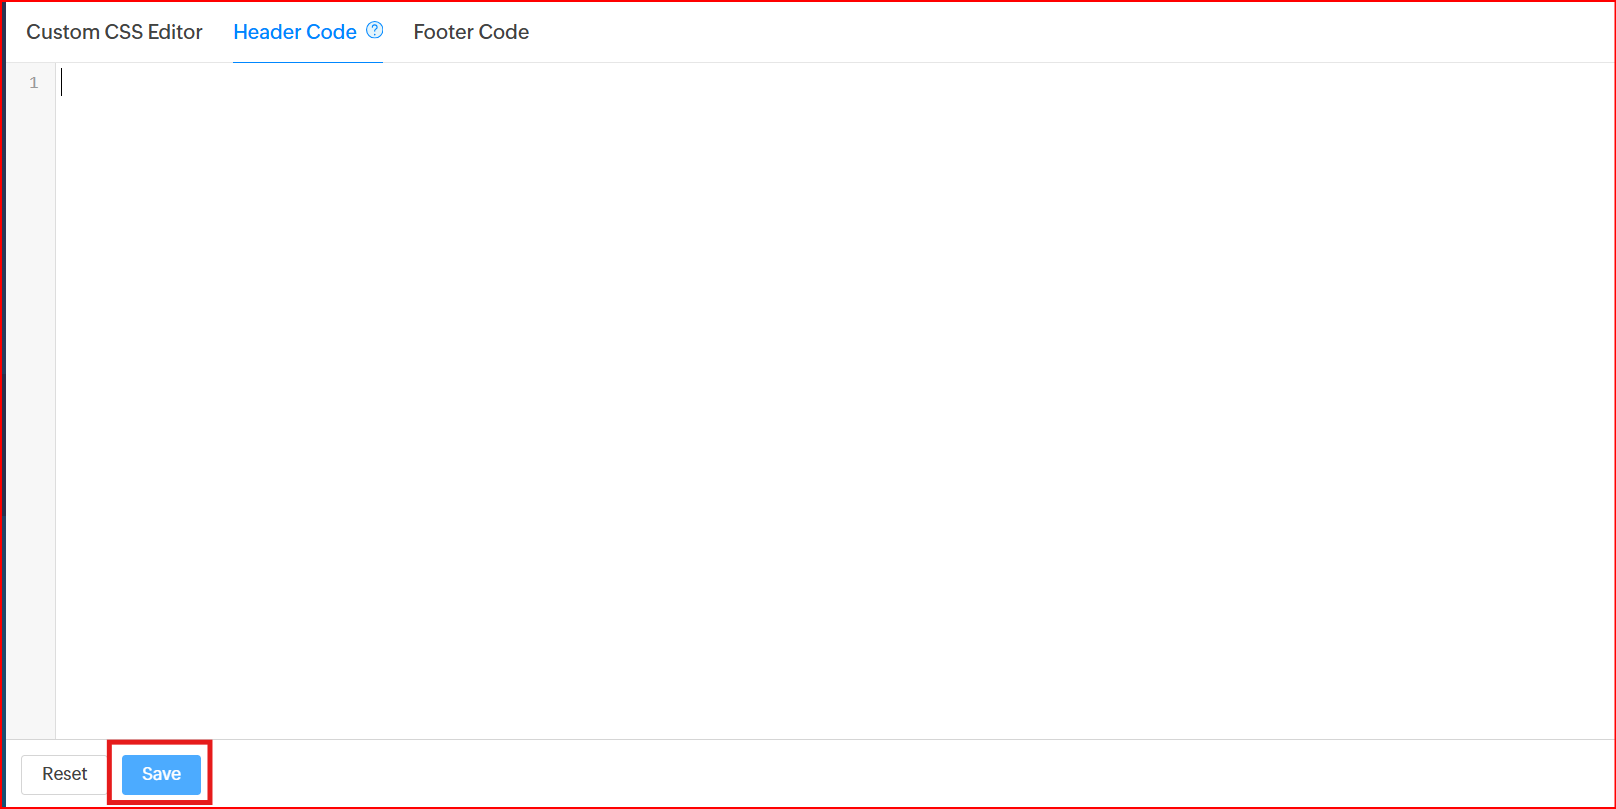
Step 7: Save Your Changes
- Click the “Save” button to store the custom code.
Step 8: Publish Your Site
- Click the “Publish” button to make your changes live. Verify that the widget or custom functionality is correctly integrated on your site.
Having Trouble? Let's Troubleshoot!
If your BluBuddy chatbot isn’t appearing or functioning properly on your Zoho Sites website, try these quick fixes:
- Check Code Placement: Ensure the chatbot script is correctly pasted in Zoho Sites as per directions above.
- Verify Installation Code: Ensure that the "Update" button was pushed when the bot was being installed on Zoho Sites.
- Clear Cache & Refresh: Clear browser cache and refresh your website. Try opening it in Incognito Mode.
If everything is correct and you are still unable to move forward, write to us at hello@blubuddy.io Our Team will reach out to you as soon as possible for troubleshooting your problem.