Framer
What is Framer?
Framer is a visual web design and development platform that allows you to build interactive, responsive websites using a no-code or low-code approach. It’s particularly popular among designers and startups for quickly creating high-fidelity prototypes, landing pages, and production-ready sites with visually engaging effects and animations.
🔑 Key Features of Framer:
-
Visual Editor
Drag-and-drop interface to design layouts without writing code.
-
AI Website Builder
Instantly generate website designs using AI—just describe what you want.
-
Responsive Design
Auto layout tools to make sites look perfect across devices.
-
Interactive Animations
Add smooth transitions, hover effects, scroll-based interactions, and more.
-
Built-in Hosting
Publish your site with a custom domain, SSL, and lightning-fast performance.
-
Code Components (Optional)
Extend functionality using custom React code if needed.
-
CMS (Content Management System)
Easily manage blog posts or dynamic content via Framer’s integrated CMS.
🧠 Who is Framer For?
- Designers who want to bring their vision to life without depending on developers.
- Startups & Marketers building beautiful landing pages quickly.
- Developers who need design-to-code flexibility using React.
🌐 What Can You Build with Framer?
- Personal or portfolio websites
- Product and startup landing pages
- Interactive prototypes
- Marketing and campaign sites
- Blogs or dynamic content sites
Embbeding your Blubuddy Widgets on your Framer Website
Step 1: Log in to Your Framer Dashboard
- Visit framer.com and sign in with your account credentials to get to your Dashbord.

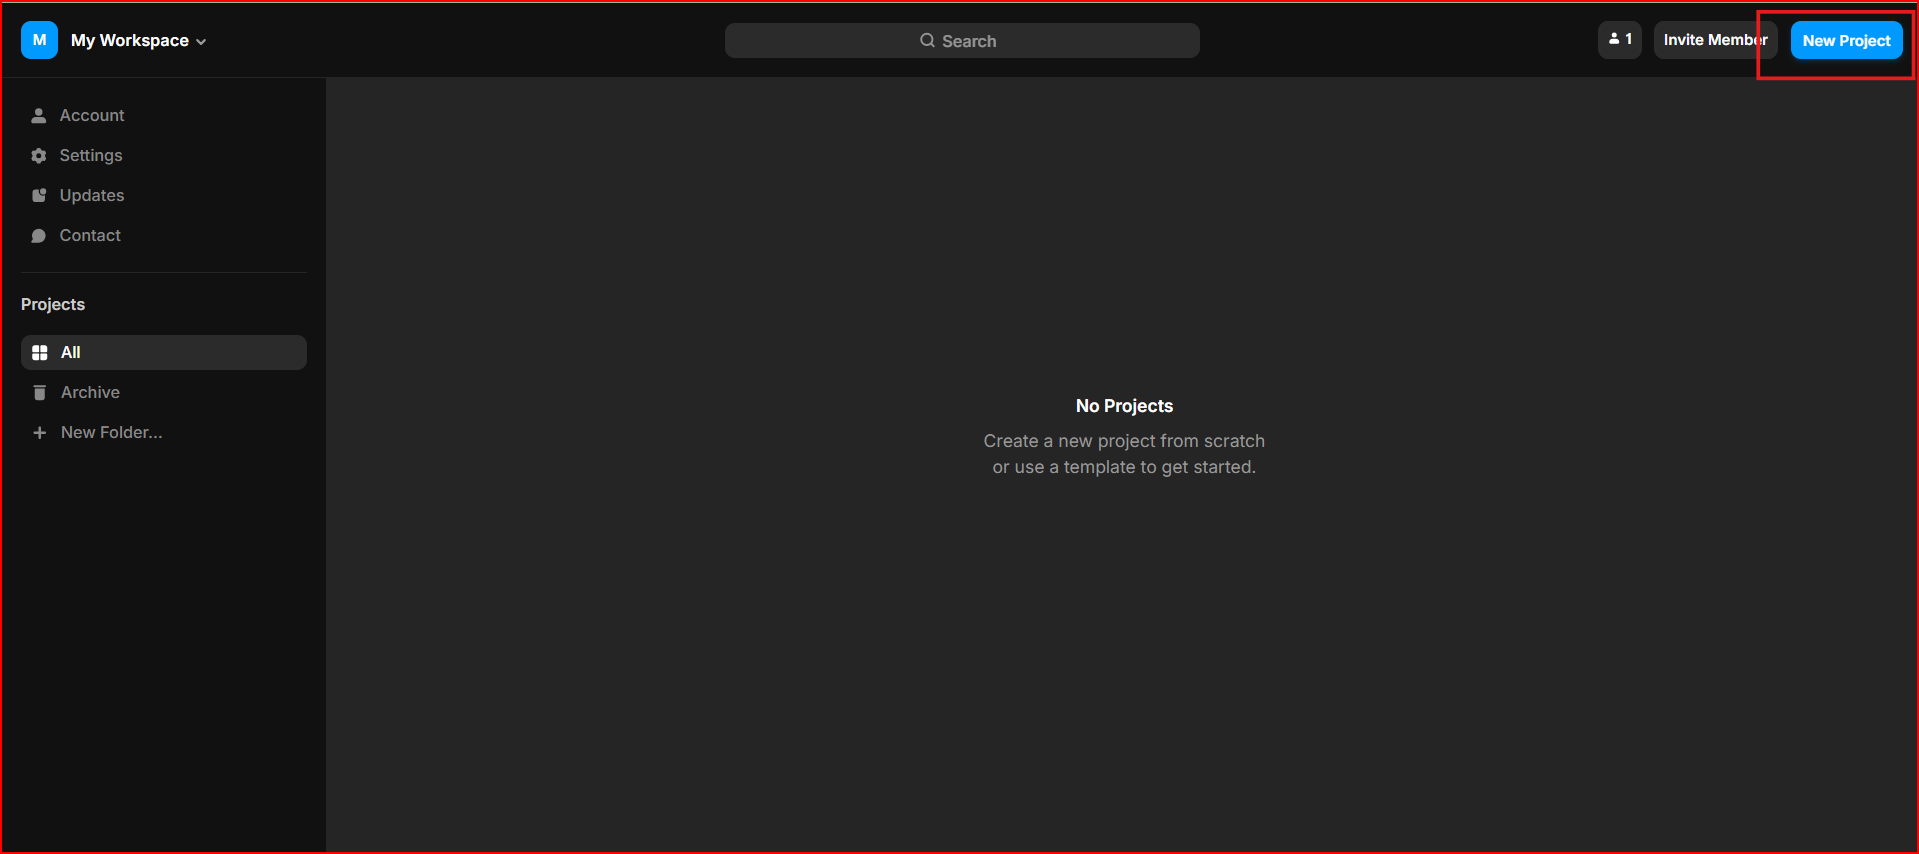
Step 2: Create a New Project
- Once inside your dashboard, click the “New Project” button located in the top-right corner of the interface
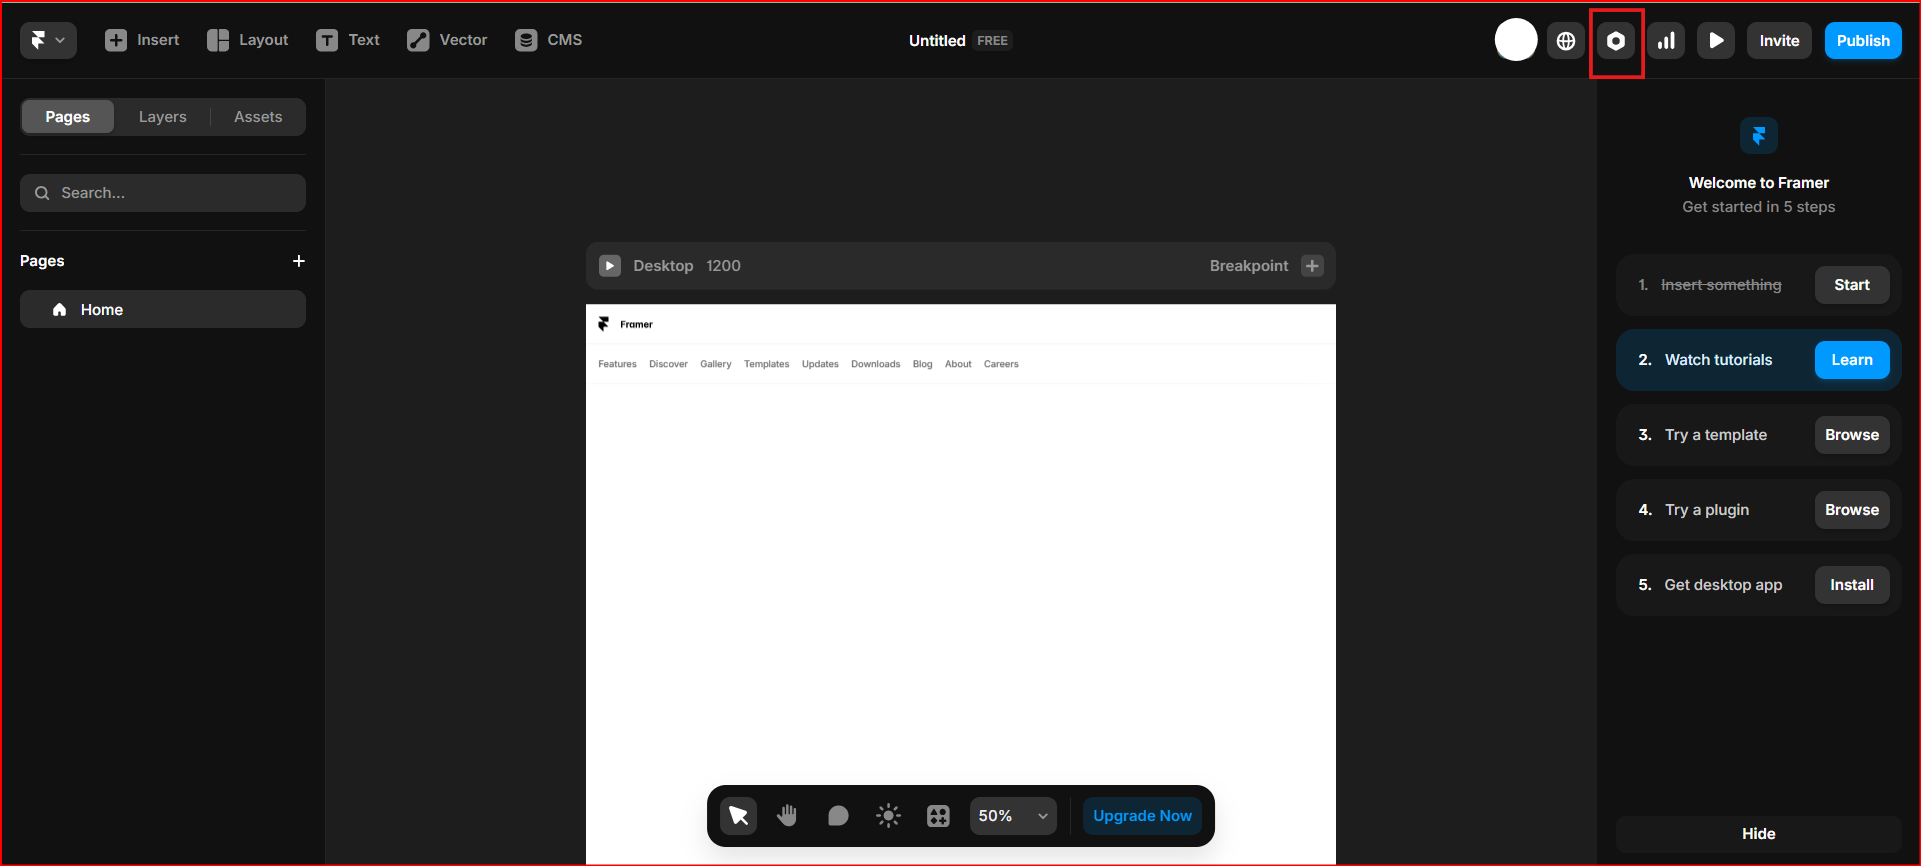
Step 3: Open Project Settings
- In the project workspace, navigate to the top-right navigation menu and click on the Settings option.
Step 4: Add Custom Code
- Scroll down to the Custom Code section within the settings.
- Paste your code snippet into the End of
<body>tag section as required. - After adding your code, click the Save button to apply the changes.
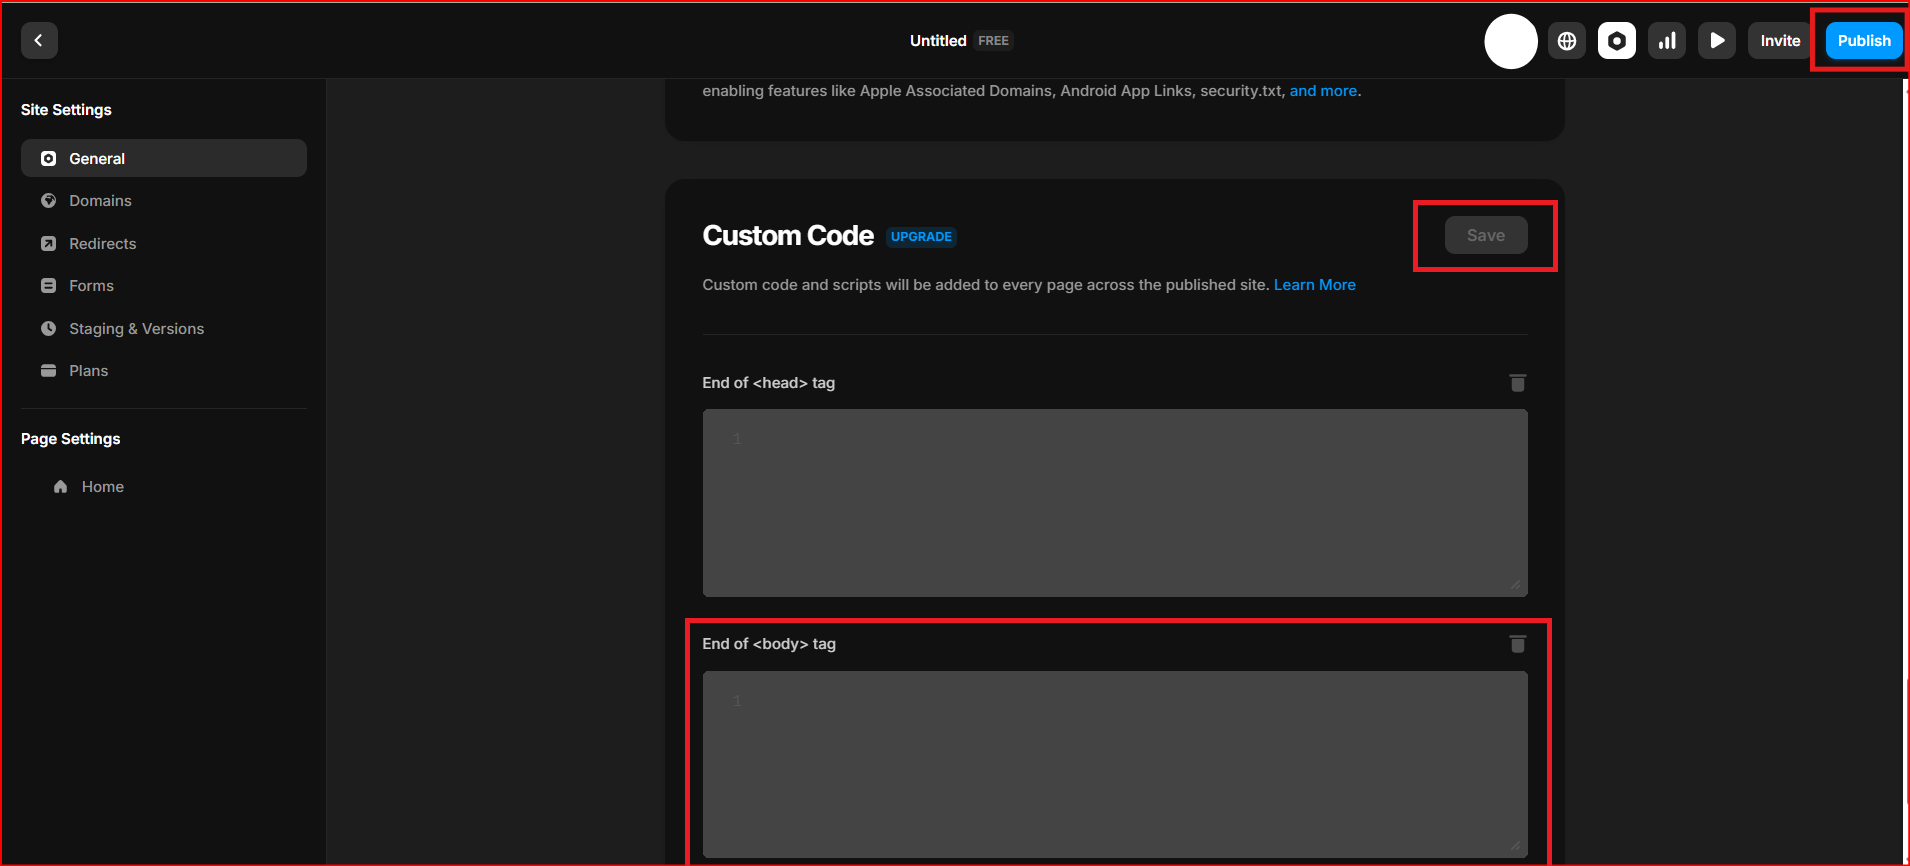
Step 5: Publish and Preview
- To make your changes live, click the Publish button located at the top-right corner.
- Visit the published site to preview your widget or code implementation in the live environment.
And your chatbot is set! Click on "Preview" to preview how the chatbot will look.
Having Trouble? Let's Troubleshoot!
If your BluBuddy chatbot isn’t appearing or functioning properly on your Framer website, try these quick fixes:
- Check Code Placement: Ensure the chatbot script is correctly pasted in Framer as per directions above.
- Verify Installation Code: Ensure that the "Update" button was pushed when the bot was being installed on Framer.
- Clear Cache & Refresh: Clear browser cache and refresh your website. Try opening it in Incognito Mode.
If everything is correct and you are still unable to move forward, write to us at hello@blubuddy.io Our Team will reach out to you as soon as possible for troubleshooting your problem.